Kali Linux
Kali Linux is an opensource Linux Distro specially made for those who are working in the information security and penetration testing industry . It is a rebuild version of Backtrack Linux ( based on Knoppix )- Offensive Security Team , rebuild backtrack based on a Debian Distro gave it the name Kali Linux. It has become the favourite all in one distro for those who are working in the security industry
Running Kali Linux
Kali Linux can be installed on to a standalone machine , A VM or even run from the live CD- if you want to test it out without going through the whole installation process.
Kali Linux on Virtual box
Virtual box is free Hypervisor which can run many operating system sharing the host computer resources. I will write and article on how to install Virtualbox soon . Untill then I am assuming that you already have Virtualbox installed and ready to go
Pre-requisites :
Download Kali iso from the offensive security website. Select the 64Bit – Kali Linux 64-Bit
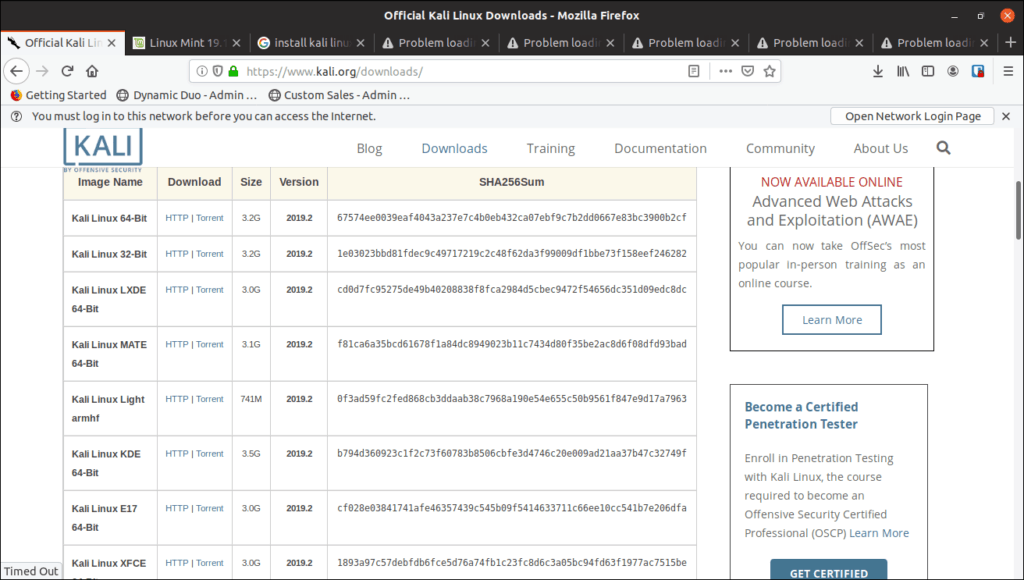
Lets Go and install Kali on virtualbox
Open Virtualbox and click on New .
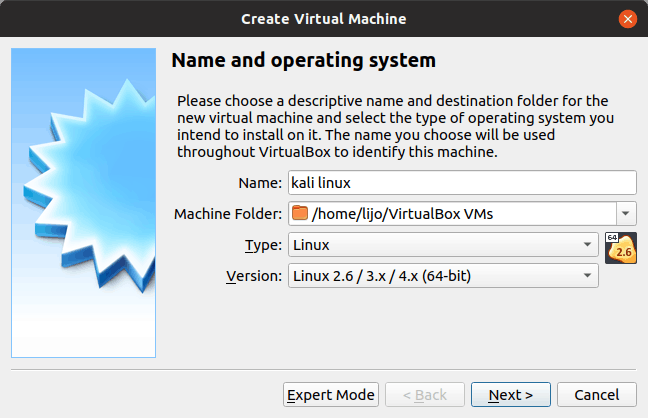
Give the Kali linux distro name and select Linux and Linux 64bit and click next
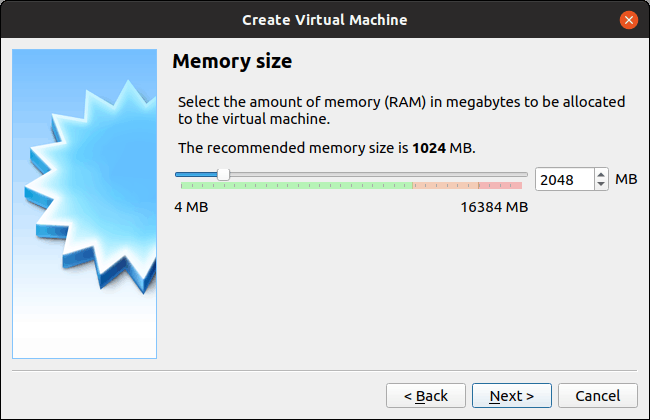
Assign memory according to avaiable memory size. The more you have the better the system will respond when you are working with Kali linux, I am giving 2GB(2x 1024= 2048MB ) ram out of the 16 GB RAM I have on my machine. Click Next
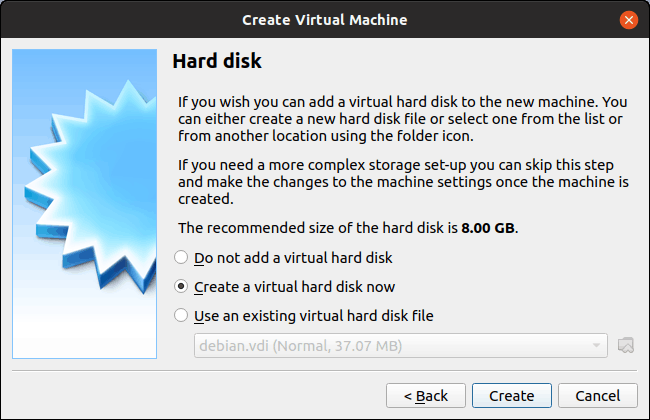
Then select create a virtual hard disc now and click create.
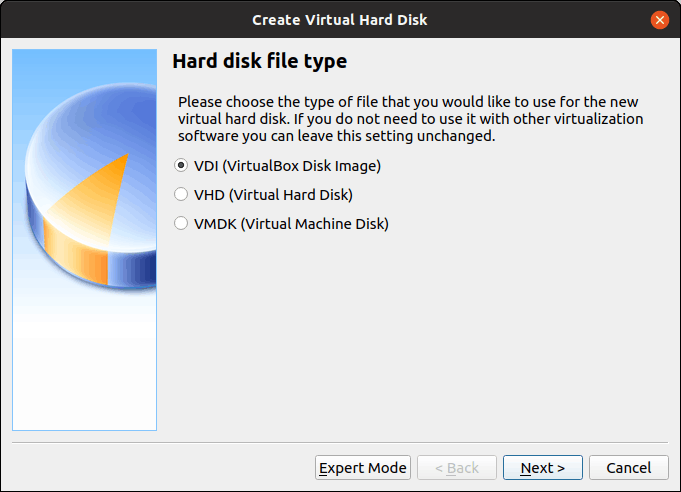
You can select the hard disc file type here. In a virtual machine the hard disk is actually a file stored in the host hard drive. Virtualbox supports 3 different type of file types
- VDI – VDi is the native format of virtulbox
- VHD – It is native format for windows hypervisor envioronment such as Hyper-V
- VMDK- It is the format developed by Vmware who have their own hyper visor solutions
You can select any one of the format. I am selecting the native virtualbox format VDI as this can be later converted to any of the other formats using qemu-img.
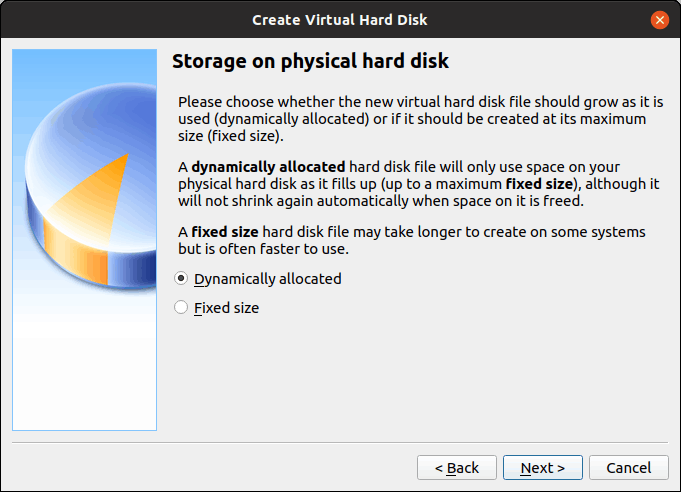
Select the type of disk.
- Dynamically allocate – It will allocate the size as per need arises. For example, if you are creating a 10GB file in dynamic mode , the file you create (the kali.vdi in this case) wont be of 10GB size . This means that the file grow dynamically based on the usage.
- Fixed size- It will create a fixed size file. So if you select 10GB , the VDI file will be 10GB , even without any contents on the disc.
i will be selecting dynamic , in this case . click next
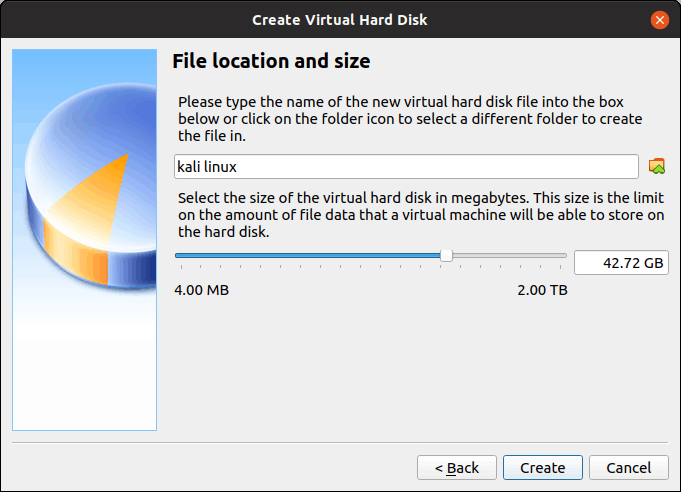
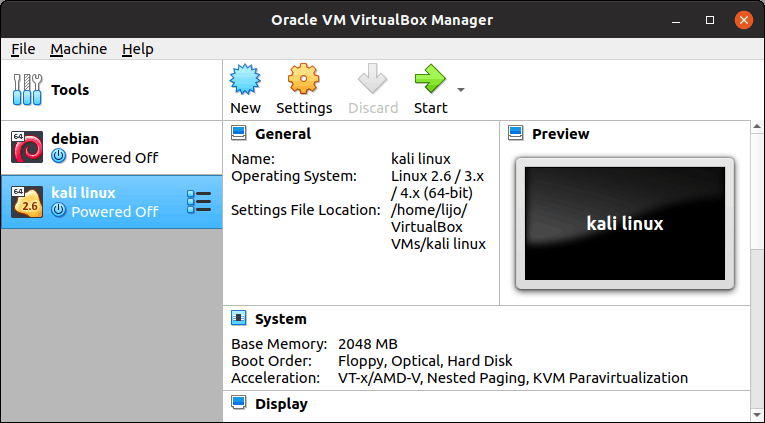
Allocate the required size, I am allocatong 50GB . As it is a dynamic file, it wont use the whole 50GB anyway unless the Kali virtual machine actually uses that much amount of hard disk space. and click create . Once this is done you can see Kali Linux on the left hand side on virtualbox .
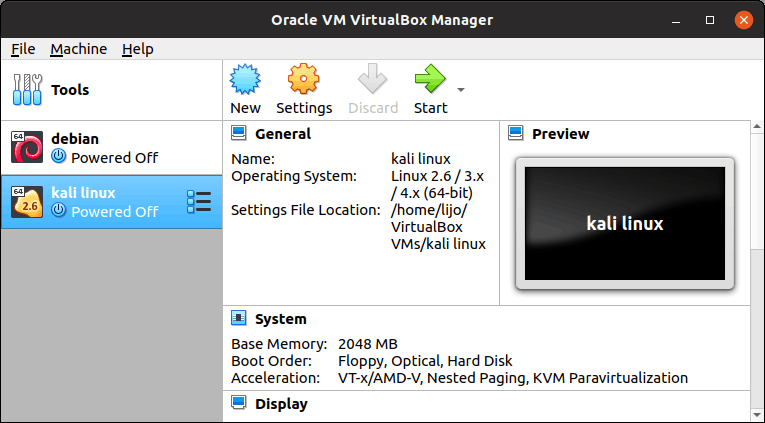
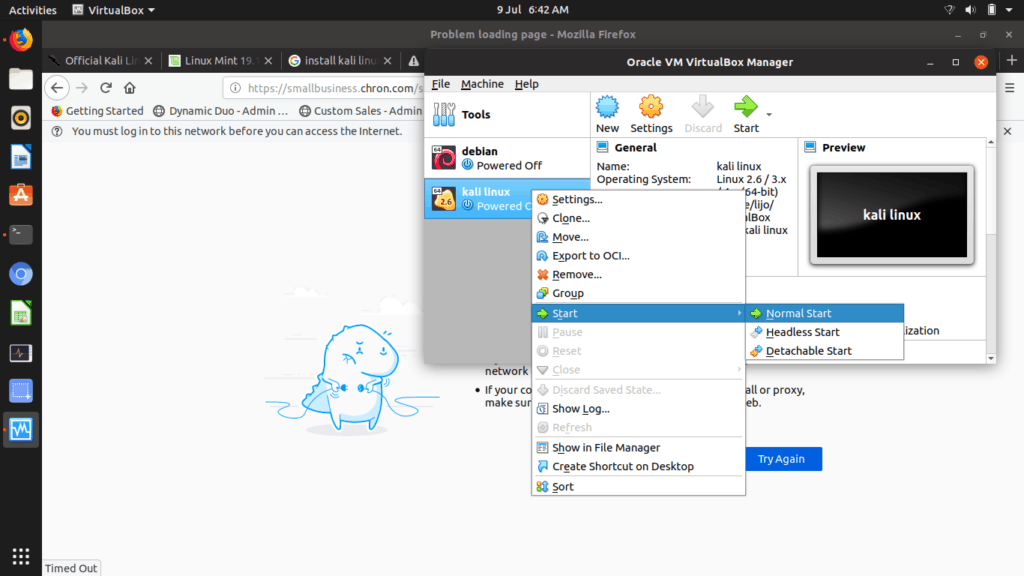
Right click on Kali linux and select start>normal start
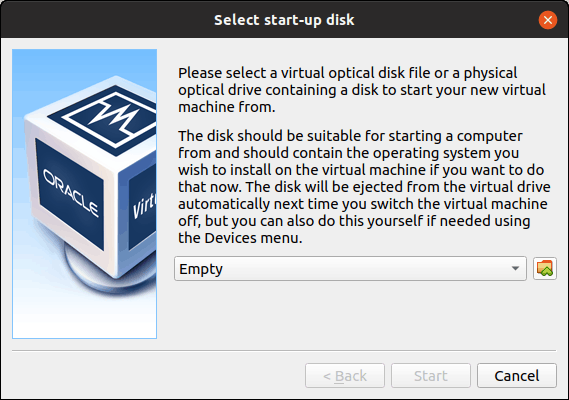
When it says select start-up disc, select the kali ISO file you downloaded from the offensive security website
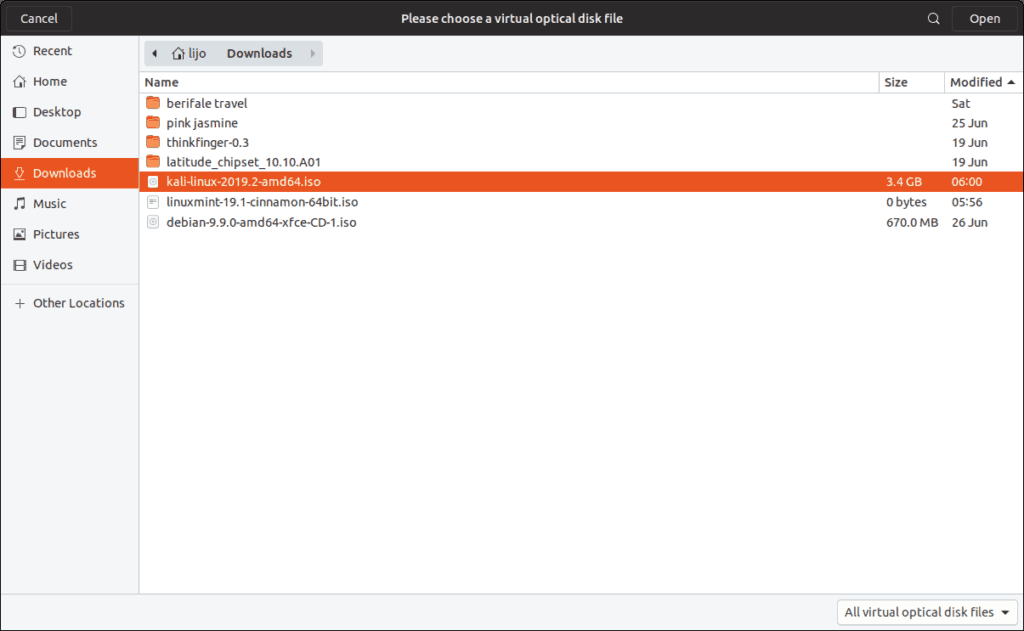
Wait for the system to load up and opece it is booted up from the kali iso , you will be welcomes with a window like below
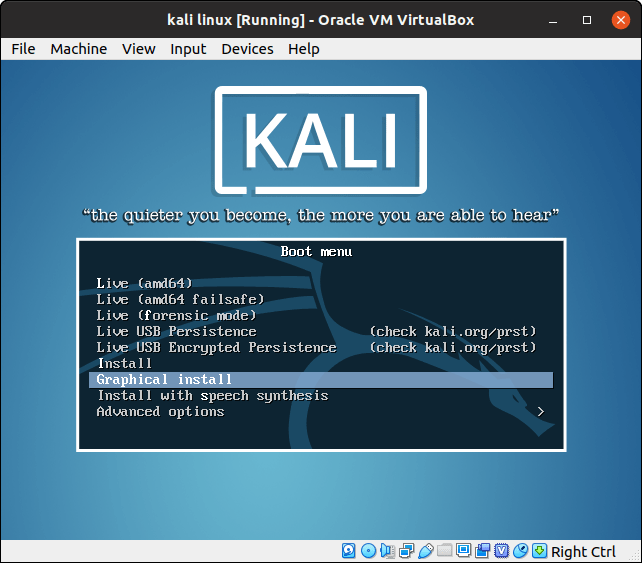
Select graphical install and press enter . I think the following steps are self explanatory.
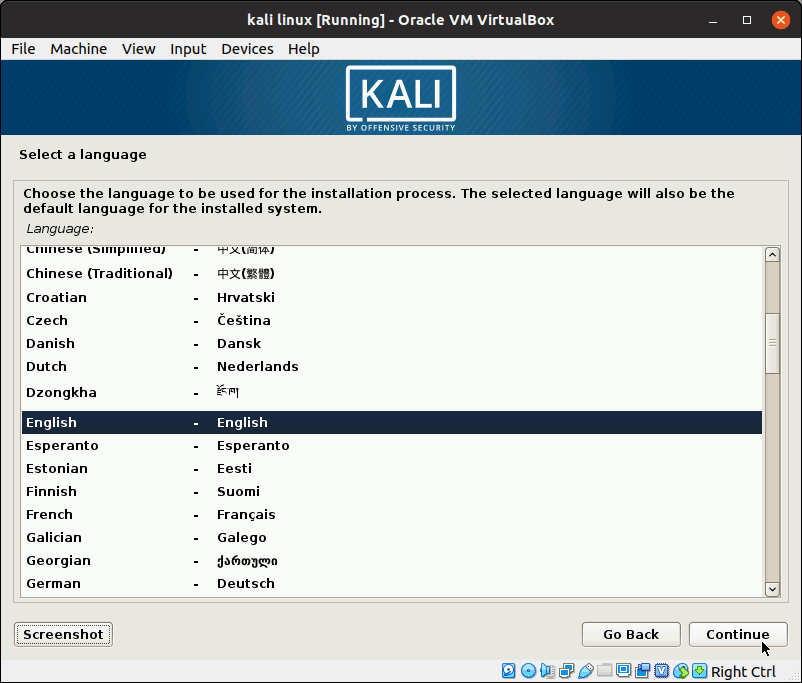
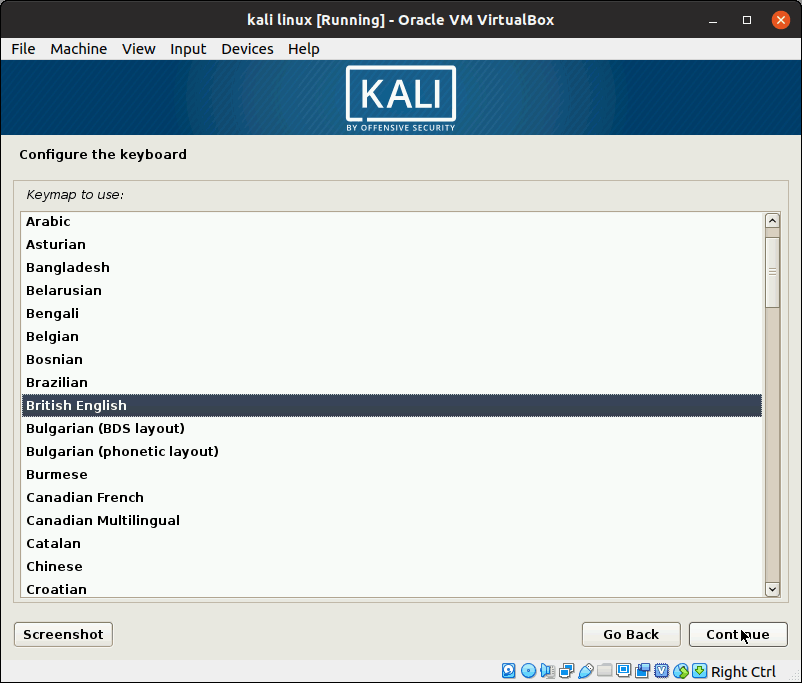
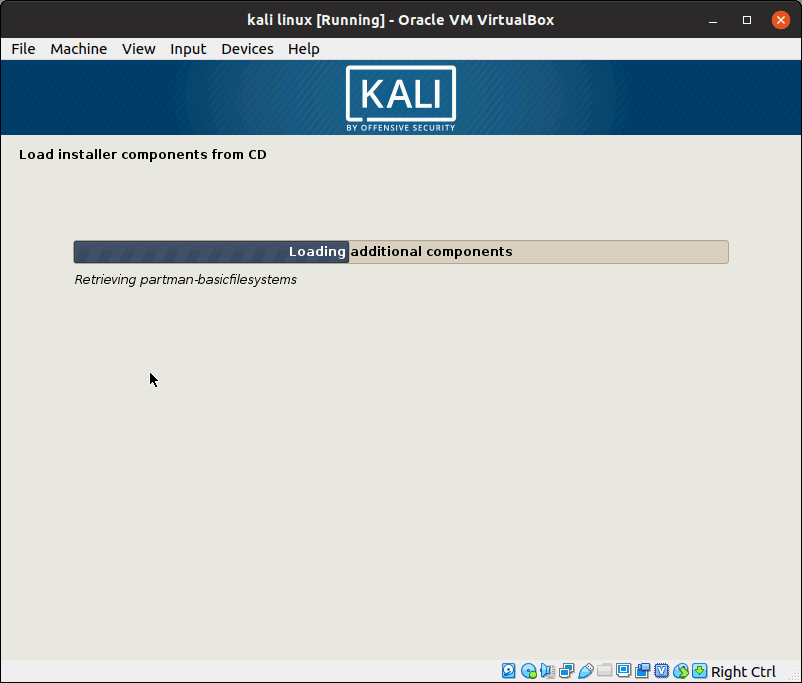
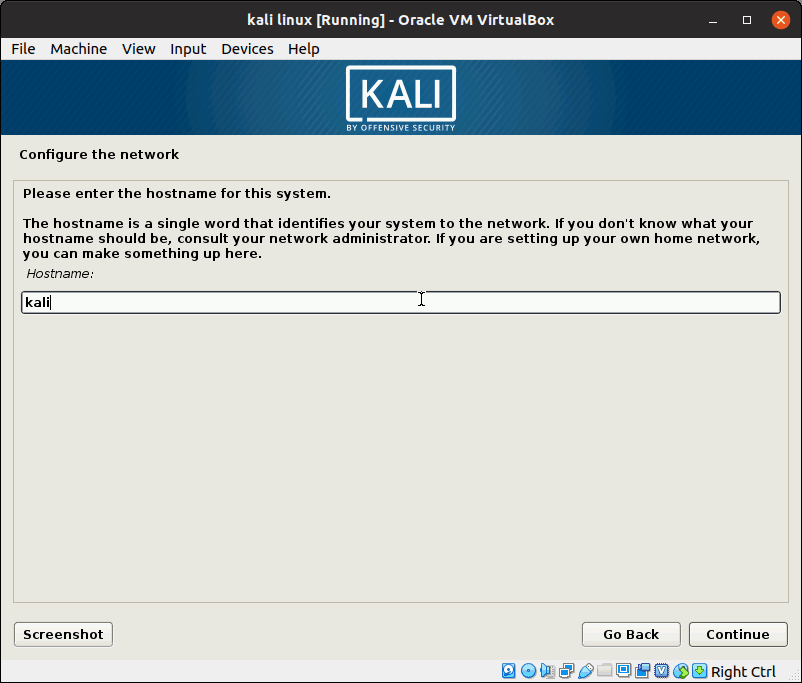
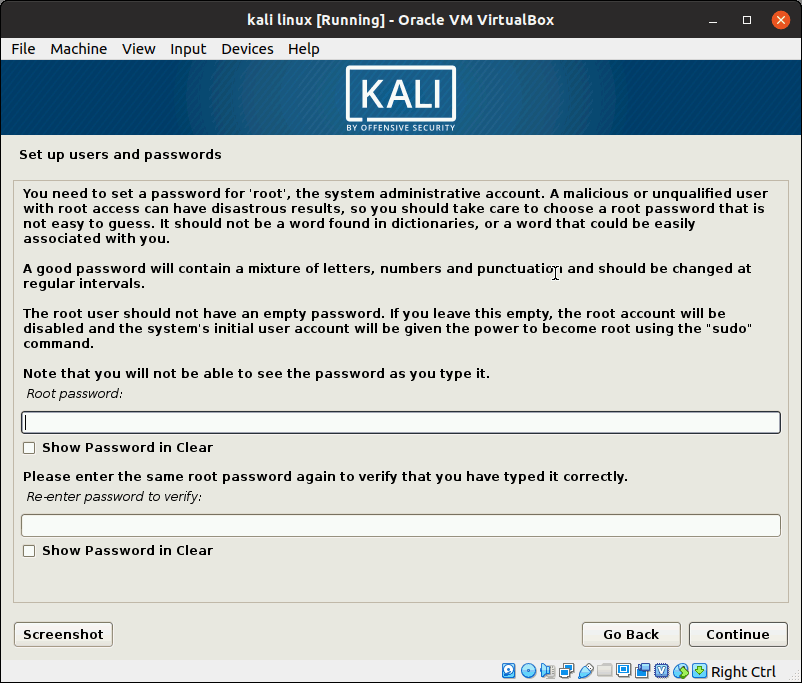
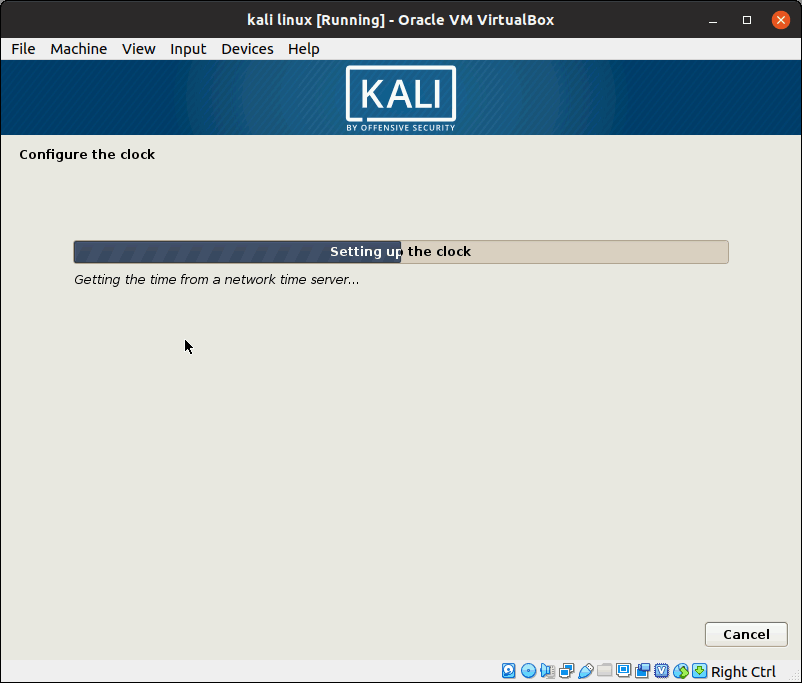
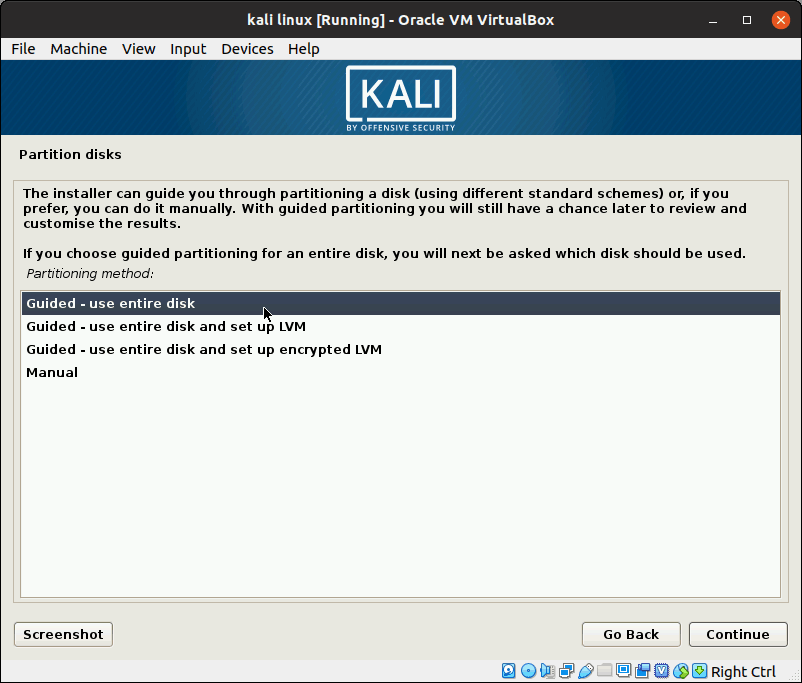
portioning the disc: Select the guided – use the entire disk, as this is a virtual disk and we will be only using it to install Kali.
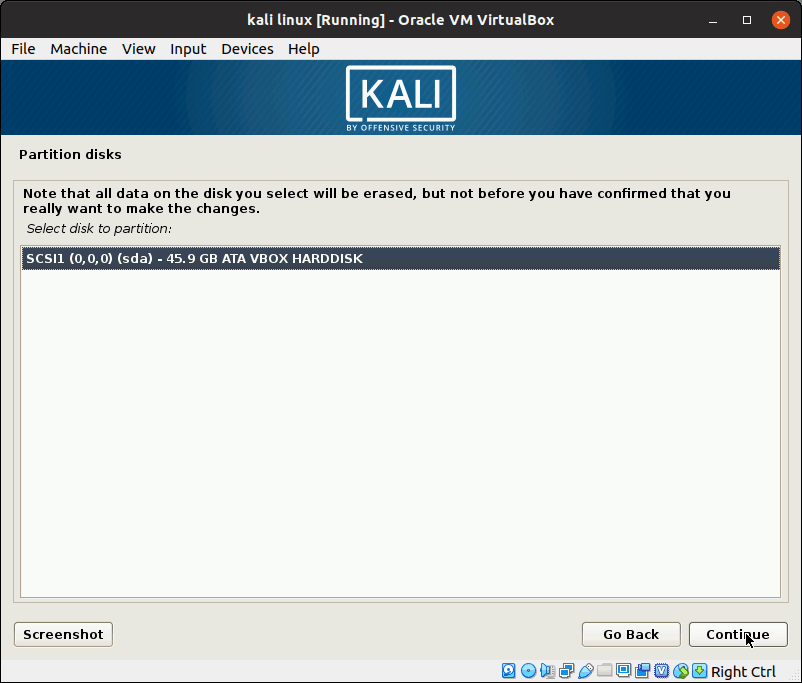
Click on continue
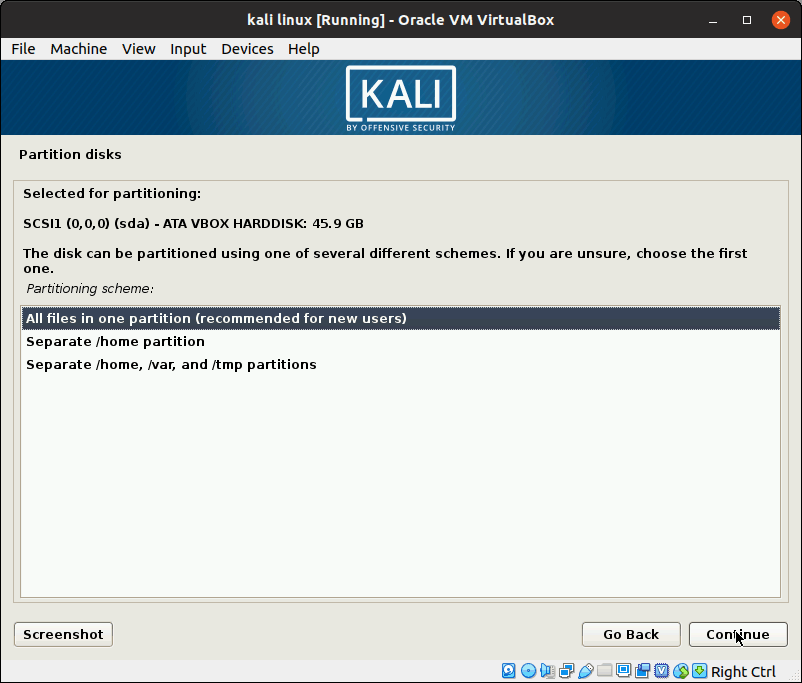
Here i will be selecting all files in one patition.
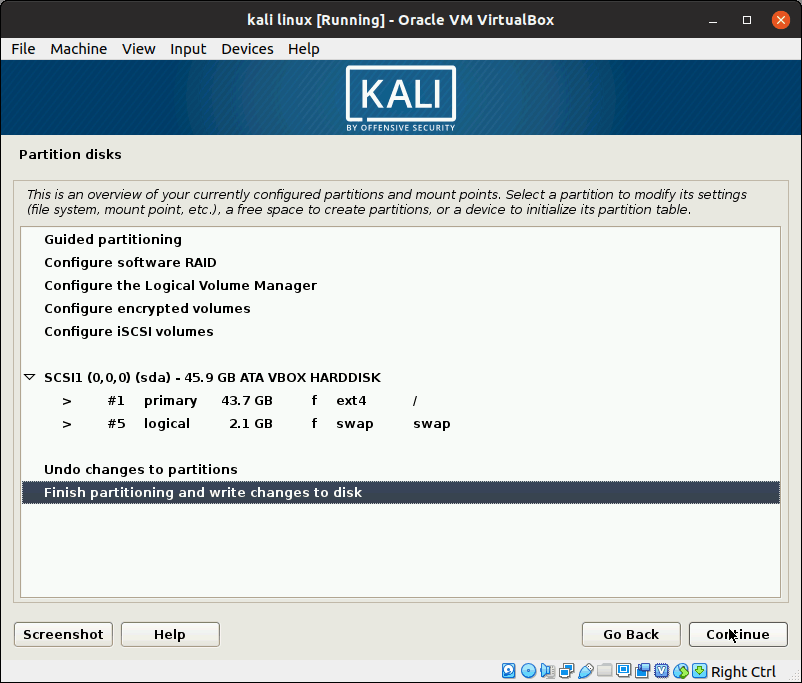
Check everything is ok and cclick on continue
Beware here the changes will be written to the disk. this erase everything on the virtual disk and create the partitions and get the disk ready for install
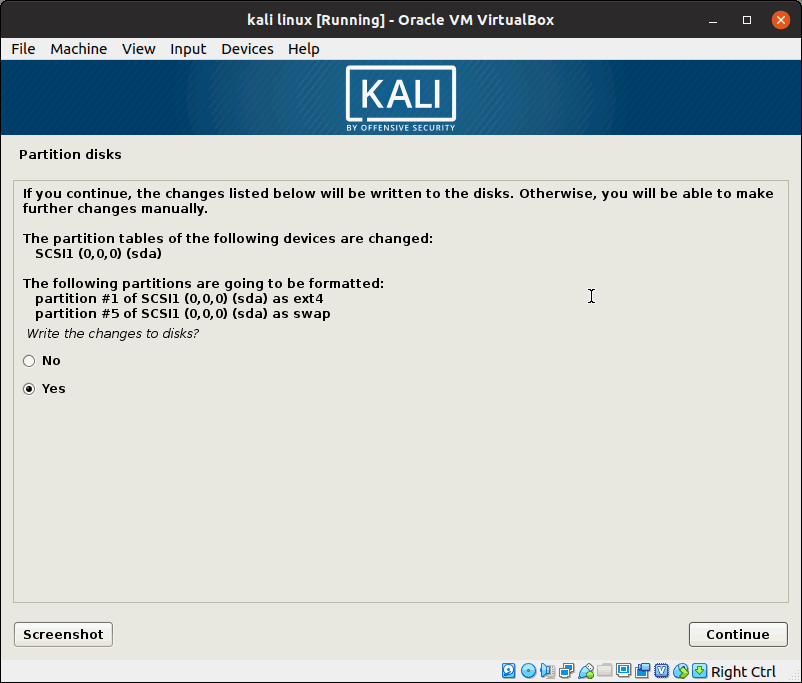
click continue
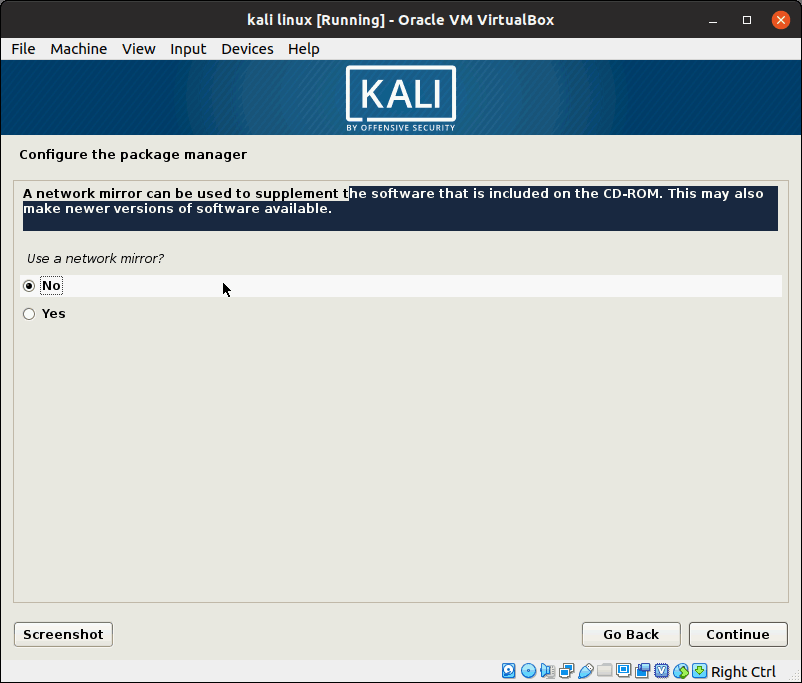
This is useful if you have an old disk and you need the installation to download latest versions of the applications of the internet. In my case i select No as I have the latest disk and I do not have an internet connection now.
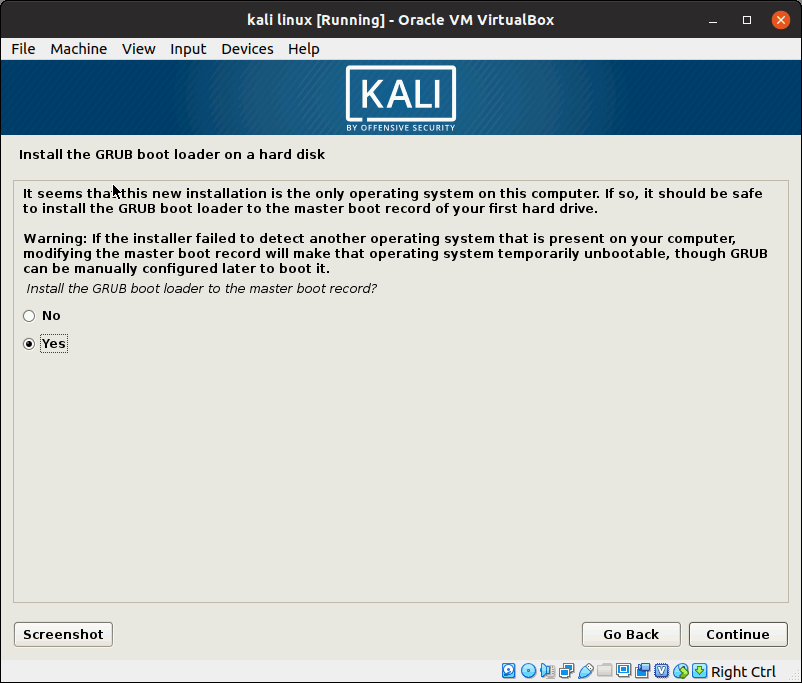
here select yes to install GRUB boot loader and click continue
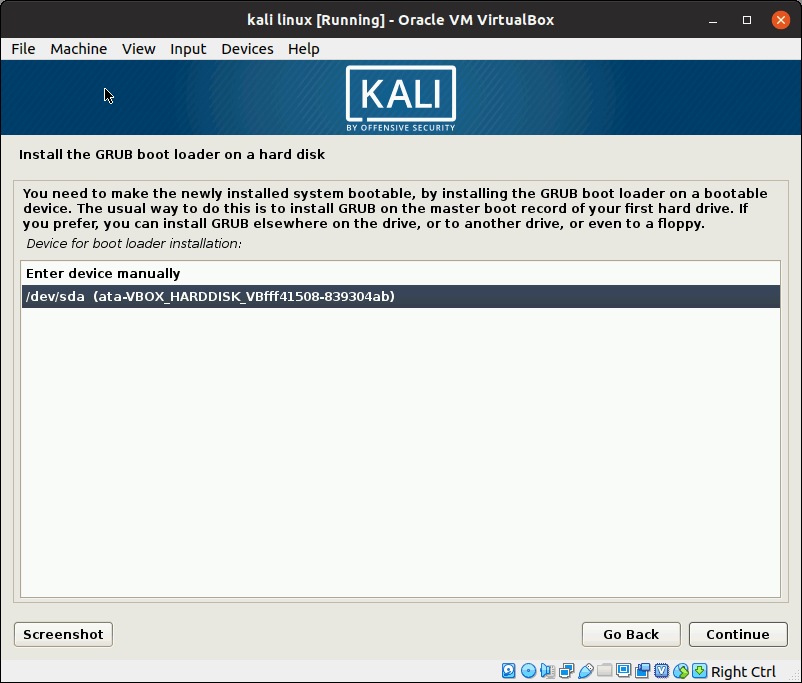
Select your hard drive to install grub.
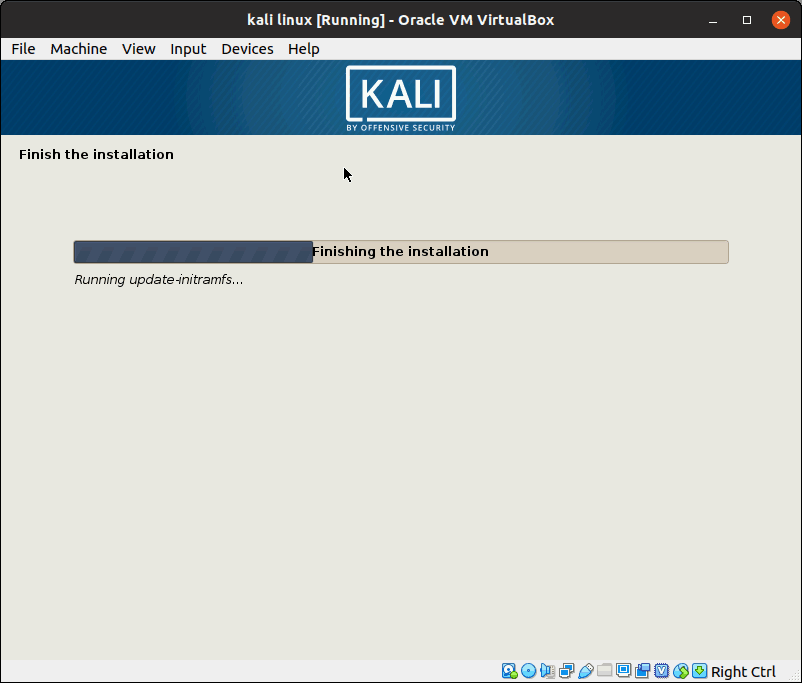
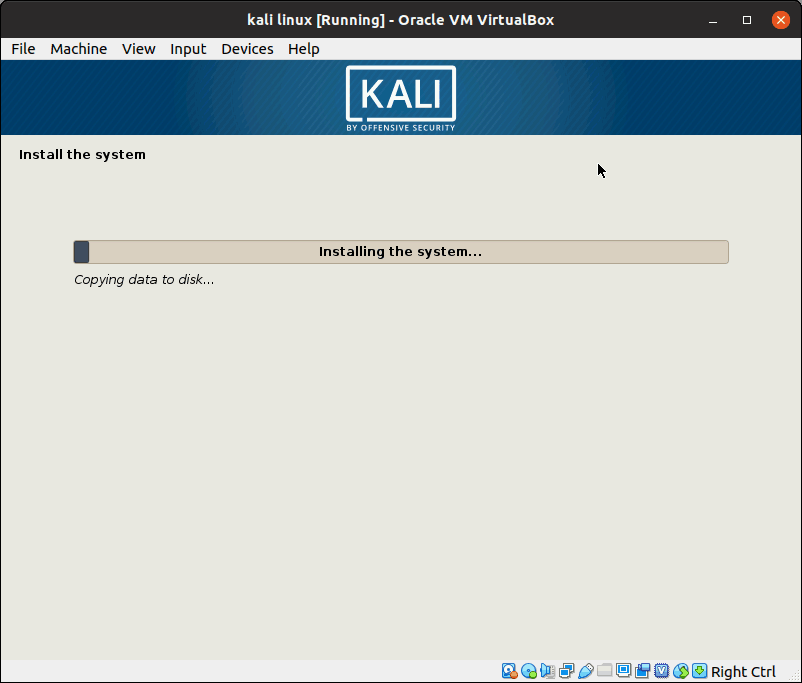
It will take sometime based on the hardware settings you have. wait for it to finish .
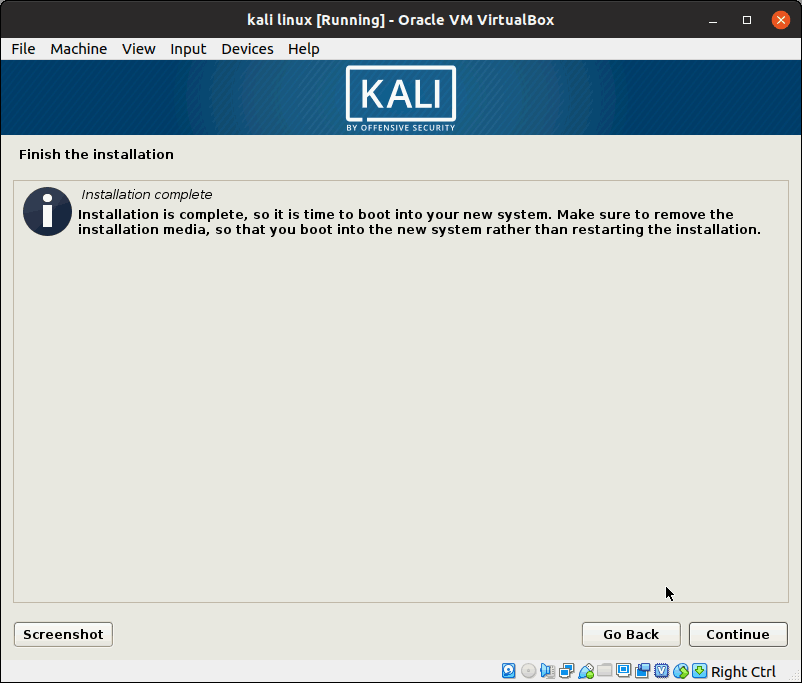
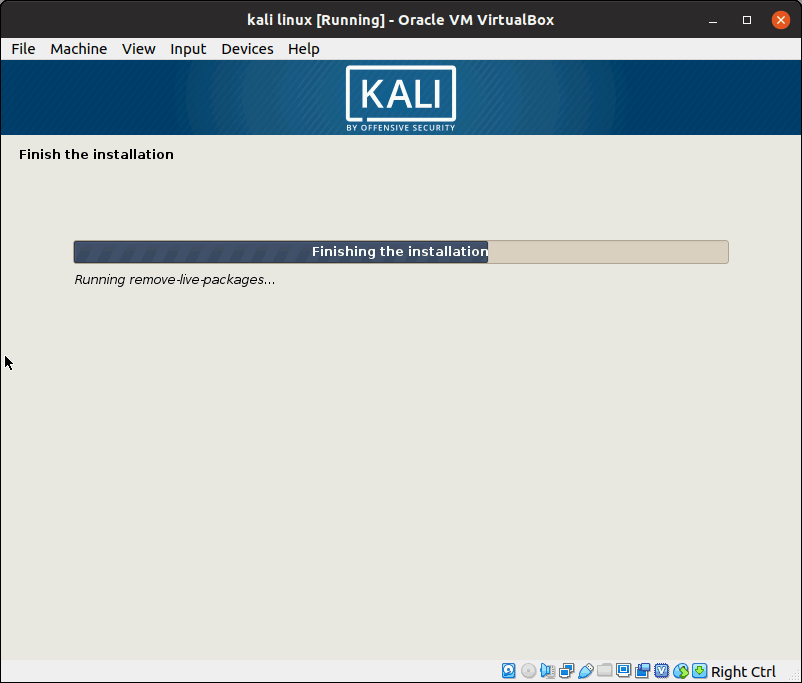
once the installation is done, it will reboot the virtual machine.
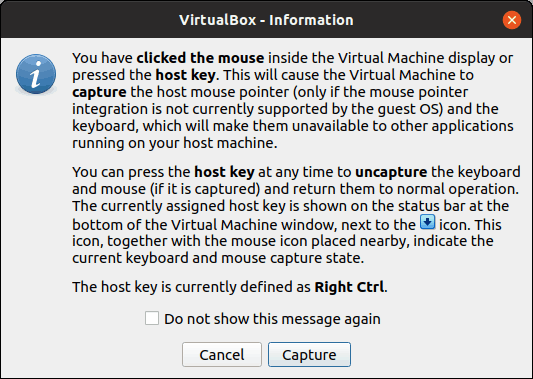
Please note that once you click inside the Virtual machine , you mouse arrow will be inside the Kali Linux’s display. If you want to move the cursor out of the machine, click on the right control key on your keyboard.
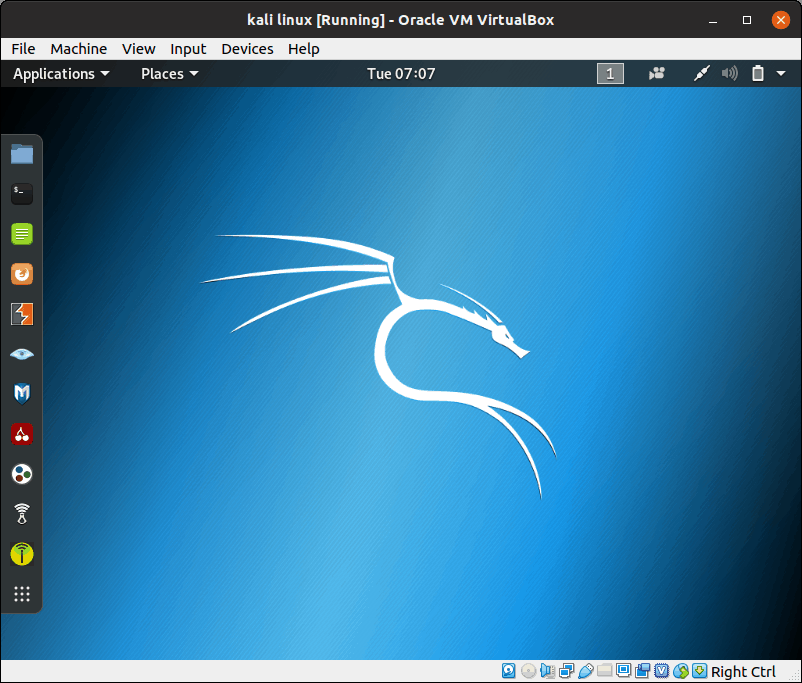
here you go, your kali is installed and ready to go.
